Saturday 5 December 2015

Glitter Text Effect Tutorial

In this tutorial I am going to show you the steps for creating a sparkling glitter text effect in Adobe Illustrator CS3 or higher

This is the video tutorial for the glitter text effect.


First take a Basic RGB Document 1024X768 pts. 72 ppi resolution and artboard orientation Landscape

Next, select the rectangle tool and draw a rectangle of the size of your artboard and fill it up with a radial gradient of a lighter and darker shade of the same colour. I chose red, you may choose any colour you like. Keep the layer locked. It is your background layer.


Create a new layer, select the Text tool and write any text you want. I wrote "Merry Christmas"  :) Choose a good font and keep the size 200 pts. , you may resize it according to your font style.
Now select the text, go to Object and click on Expand. Next right click on the text and click on Ungroup. Select all and fill it up with white colour, turn off the stroke.


Now press Ctrl + A / Select all and Ctrl+C to copy. Make 2 more layers and in each layer press Ctrl+F to paste the text in same position. So, there should be total 3 layers with the same text.

Turn off visibility for the 2 upper layers and also keep them locked. Select the text in the lowest layer and fill it up with the second gradient in the metals rack. 


Keeping the text selected, go to Object - Path - Offset Path -- Offset: 2, Joins: Miter, Miter Limit: 4. This will increase the thickness of the text. Now, lock this layer.


Turn on visibility for the second layer. Select the first letter, go to Effect- Sketch- Note Paper -- Image Balance: 25, Graininess: 10, Relief: 11. Press- Ok. Now, select the other letters and go to Effect- Apply Note Paper (Ctrl+Shft+E).


Select the first letter again, go to Effect- Texture- Stained Glass-- Cell Size: 2,Border Thickness: 4, Light Intensity: 0. Press Ok. Apply this effect to the other letters as before.


Now, again select the first letter, go to Effect- Sketch- Torn Edges-- Image Balance: 22, Smoothness: 1, Contrast: 16. Press Ok. Apply this effect to the other letters too.


This is how it should look.


Now lock this layer and turn on visibility for the topmost layer. Set the blending mode of this layer to color or overlay. Select each individual letter and give it a separate colour. You may change the colours and blending modes to get the desired effect.

Happy with the results?? Good. Now, there is just one little thing left to do.

Create a new layer at the top of all the others. Keep the foreground colour white. Select the star tool. Click anywhere. In the options box -- Radius 1 : 3pt, Radius 2: 50 pt, Points: 5.


Select the star, Ctrl+C , Ctrl+F, resize and rotate the new star. Select both of them and group them (Ctrl+G). Now go to -- Filter- Outer Glow-- Mode: Screen, Colour: White, Opacity: 75%, Blur: 8 pt. 

Select the star and make it smaller. Make several copies of the star and place them on the text to complete the sparkle effect.

This is the final image.


Monday 26 October 2015

Floral fractal tutorial in Photoshop (Advanced)

1. Launch Photoshop CS3 (or higher) and create a new document with the dimensions 1920 x 1080 px, 72 ppi in RGB color mode.


2. Keep the background color black.

3. Create a new layer (layer 1) above the background layer. Press 'G' for gradient. Open gradient editor and click on the tiny arrow next to presets and select noise samples from the dropdown menu.
Select any color you like.


4. Fill the layer with the selected gradient.


5. Set the blending mode of layer 1 to overlay.


6. Create a new layer in between the two existing layers and draw a petal using the pen tool (P). Press Ctrl+enter to make a selection and fill it with white color. Keep the selection.


7. With the marquee tool selected, right click and select feather and set it to 30 pixels.


 8. Now hit delete.


9. Duplicate(Ctrl+J) the petal and rotate it and follow steps 12 and 13 to make a complete flower.


10. Press Ctrl+J , now press Ctrl+T, resize the new petal and move it downwards as shown in the image. Press enter when done.


11. Press Ctrl+Alt+Shft+T  to repeat the previous action. Select all the layers and merge them using Ctrl+E.


12. Press Ctrl+J , now press Ctrl+T, set the pivot point at the bottom, resize and rotate it as shown in the image. Press enter when done.


13. Press Ctrl+Alt+Shft+T  to repeat the previous action. Select all the layers and merge them using Ctrl+E.


14. Now, copy, resize and arrange the motif you just made to complete your design.


15. Watch this video tutorial to completely understand the method.


Sunday 11 October 2015

Halloween Collection

Halloween Collection

Click an image to view details and buying options.

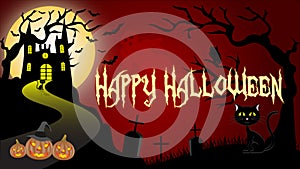
Halloween Wallpaper
© Photographer: Shaereemukherjee | Agency: Dreamstime.com

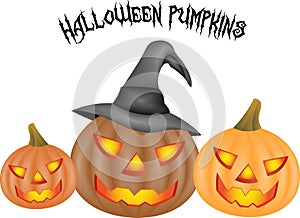
Halloween Pumpkins
© Photographer: Shaereemukherjee | Agency: Dreamstime.com

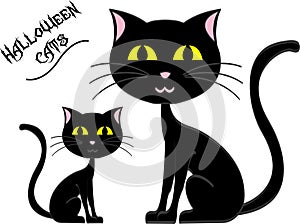
Halloween Black Cats
© Photographer: Shaereemukherjee | Agency: Dreamstime.com

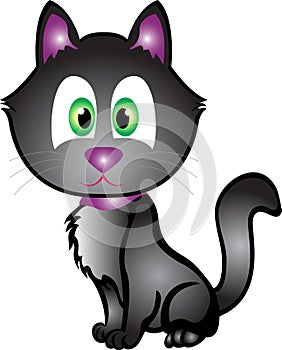
Halloween Black Cat
© Photographer: Shaereemukherjee | Agency: Dreamstime.com

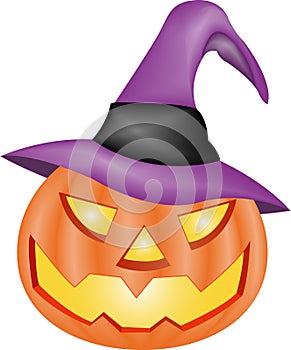
Halloween Pumpkin
© Photographer: Shaereemukherjee | Agency: Dreamstime.com

Tuesday 6 October 2015

The Milkmaid and her Daydreams

Watch the 2D animated short film "The Milkmaid and her Daydreams"


Story 

A milkmaid was going to the market carrying a pail of milk on her head. As she went along she began thinking about what she would do with the money she would get for the milk. 

"I'll buy some hens from a neighbour," said she, "and they will lay eggs each morning, which I will sell to the pastor's wife. With the money that I get from the sale of these eggs I'll buy myself a new dress. When I go to fair, all the young men will come up and speak to me!...... I shall toss my head like this". As she spoke she tossed her head back, the Pail fell off it, and all the milk was spilt. 


Click on an image to view details and buying options

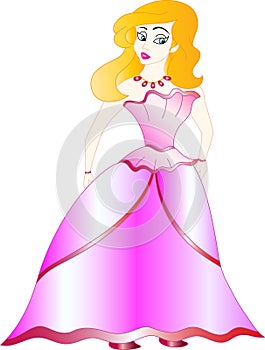
Pretty Lady
© Photographer: Shaereemukherjee | Agency: Dreamstime.com


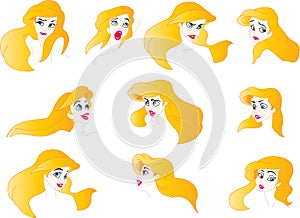
Pretty Lady expression chart
© Photographer: Shaereemukherjee | Agency: Dreamstime.com

Stock Photography

Monday 5 October 2015

Wallpapers and Desktop Backgrounds

Click on an image to view details and buying options

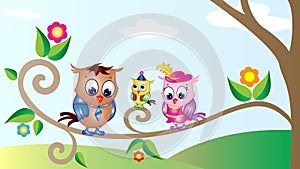
Cute Owls Cartoon Wallpaper

© Photographer: Shaereemukherjee | Agency: Dreamstime.com

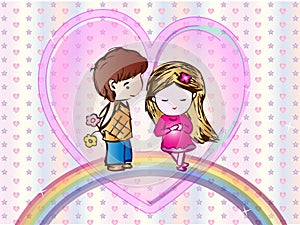
Cute Love Cartoon Wallpaper
© Photographer: Shaereemukherjee | Agency: Dreamstime.com

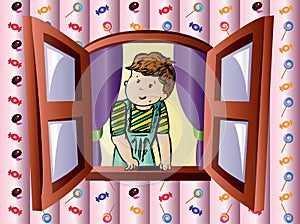
Cartoon Candy Boy Wallpaper
© Photographer: Shaereemukherjee | Agency: Dreamstime.com

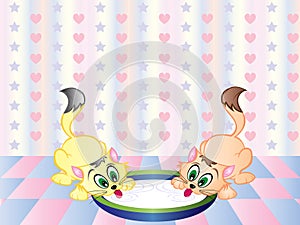
Cute Kittens
© Photographer: Shaereemukherjee | Agency: Dreamstime.com

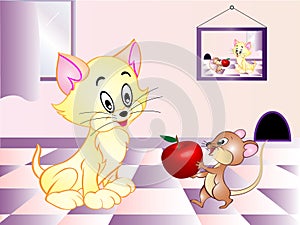
Opposites attract
© Photographer: Shaereemukherjee | Agency: Dreamstime.com

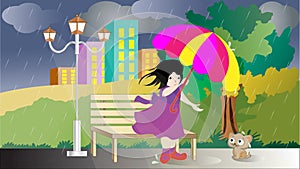
Hope for Shelter

© Photographer: Shaereemukherjee | Agency: Dreamstime.com


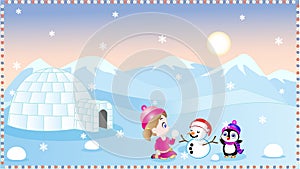
Winter fun
© Photographer: Shaereemukherjee | Agency: Dreamstime.com

Cartoon Birds

Click on an image thumbnail to view details & buying options

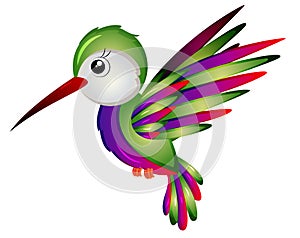
Cartoon Humming Bird Vector Illustration
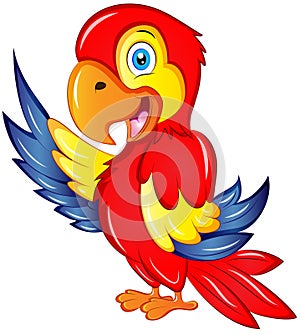
© Photographer: Shaereemukherjee | Agency: Dreamstime.com Cartoon Macaw Vector Illustration
© Photographer: Shaereemukherjee | Agency: Dreamstime.com

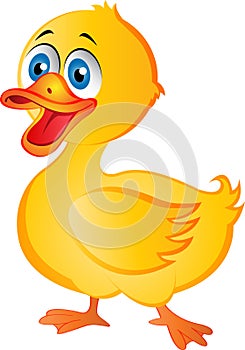
Cartoon Duck
© Photographer: Shaereemukherjee | Agency: Dreamstime.com

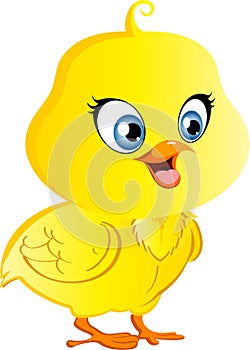
Cartoon Chicken
© Photographer: Shaereemukherjee | Agency: Dreamstime.com

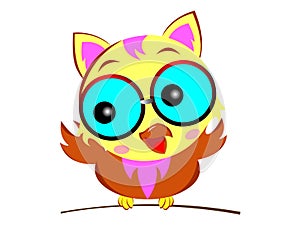
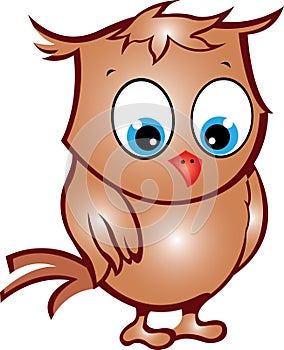
Cute Cartoon Owl
© Photographer: Shaeree Mukherjee | Agency: Dreamstime.com

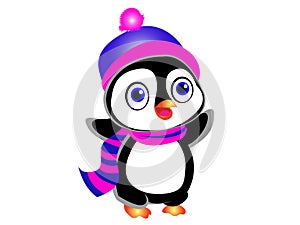
Cute Cartoon Penguin
© Photographer: Shaeree Mukherjee | Agency: Dreamstime.com

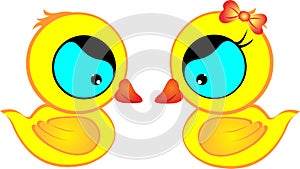
Ducklings
© Photographer: Shaeree Mukherjee | Agency: Dreamstime.com

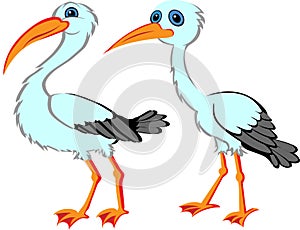
Cartoon Stork
© Photographer: Shaeree Mukherjee | Agency: Dreamstime.com

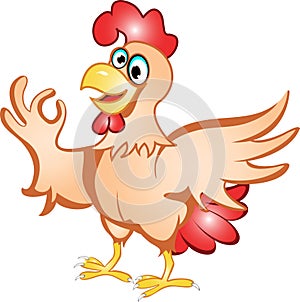
Cartoon hen
© Photographer: Shaeree Mukherjee | Agency: Dreamstime.com

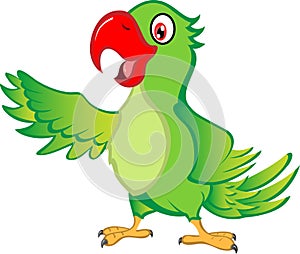
Cartoon Parrot
© Photographer: Shaeree Mukherjee | Agency: Dreamstime.com

Cute Cartoon Owl
© Photographer: Shaeree Mukherjee | Agency: Dreamstime.com