Sunday, 12 April 2015

Ruby in Illustrator Tutorial

In this tutorial I will show you how to make a sparkling ruby or gemstone in Adobe illustrator. This can also be used for making icons.

Launch Adobe Illustrator and create a New RGB Document. I took 640x480 pixels with 75 resolution.

Start by creating a Square with the rectangle tool (M) .


 Now Rotate it to 45 degrees. Select the line tool (\) and draw two straight lines crossing one another at the centre of the square. You may use the align tools to make it perfect. 


 Select everything and click on the live paint bucket tool (K) so that all the four parts can be colored separately.


Use the following color table.

Select a separate color from the color table to fill the four parts of the ruby.


Next, copy the square and paste in front and resize it to give some depth to the ruby. Expand and ungroup it and delete the lower two triangles.


 Create a Gradient like the following picture with gold (#R=209, G=181, B=96) and black.
Set the blending mode to screen and angle to 45.8 degrees

 Apply this gradient to one triangle.


Now select the colored triangle and reflect it vertically.


 Create a square at the middle of the ruby.


 Color the small box by using the gradient shown below.


To add sparkles, select the star tool, click anywhere and an options box will appear. Use the following settings.


Your sparkling ruby is ready.


Stock Photography

Wednesday, 8 April 2015

Quote of the day


Stock Photography

Sunday, 5 April 2015

Royal text effect in Photoshop tutorial

This is the final image.


First, you need to download two textures from the internet...1. An old paper texture for the background and 2. A red pattern (.PAT) for the text. 

Create a new photoshop document -- File - New - 851x315 px , 75dpi resolution.

Now, File- Import - select the old paper texture and press enter. Resize the texture if necessary.
Double click on this layer to open layer styles and follow the instructions as shown in the images below.
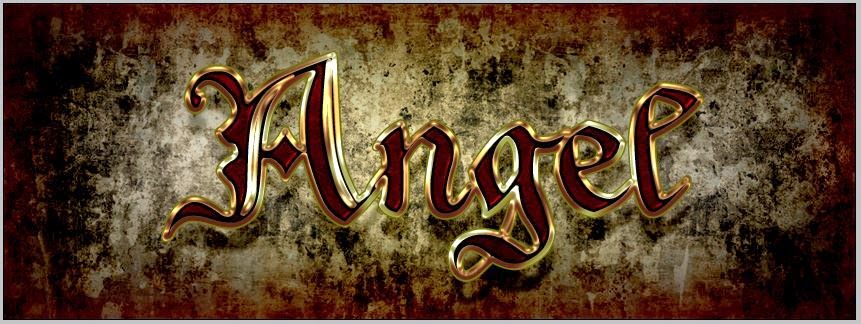


When it's done, you will get a nice grunge effect background like this.

Now write a text...whatever you like , we will stick to 'Angel' for this tutorial. Choose a font similar to mine. I have used the font named Xenippa.

Select the text layer and press Ctrl+J to duplicate it. It should be named Angel copy by default. Now, you have two text layers Angel and Angel copy. First, select the layer named Angel and double click on it to open layer styles. Apply the layer styles shown in the images below.


 The color code in the image below is #666600


The two colors for the gradient are #ccccc99 and #996633...you can experiment with different colors if you like.

We are almost there...  


Next, double click on the layer named 'Angel copy' and follow the images below.


 The colors used in the gradient are #990000 and #cccc66
 This is the effect that you will get.

Now add two nice wings or tail, a crown maybe....or anything you want to ..
 Now add the following layer styles to it.


 The colors are similar to the ones used in the layer named Angel.


Its done.!!


Stock Photography

Thursday, 2 April 2015

Quote of the month (April)


(Phool means Flower in Hindi/Bengali.) The baby squirrel says "I brought flowers for you in the month of April and 
Happy April Fool's Day.." :P


If you want to be an illustrator, you must have a Wacom Tab, it is easy to use and affordable and comes with a stylus. Check the links below to buy one today.

Stock Photography